Learning how to organize your living space sounds simple until you actually start. You open one drawer, and twenty minutes later the whole room looks worse than before. That is not a personal failure — it is a missing system. Organizing works when you follow steps in the right order, one small zone at a time, instead of attacking the whole home at once. This guide gives you that order: ten steps from a cluttered space to a home where everything has a place. Every step is budget-friendly and renter-safe.

Step 1: Do a 15-Minute Walkthrough First
Before you touch anything, walk through your home and write down what bothers you most in each room. Not a full inventory — just the friction points. The kitchen counter that is never clear. The pile of shoes by the door. The drawer you avoid opening. This list becomes your plan. Give yourself 15 minutes, no more.
Step 2: Pick One Zone, Not One Room
The biggest mistake people make is declaring "today I organize the bedroom" and then drowning in it. A room is too big. A zone is the right size: one shelf, one drawer, one closet section, one corner of the living room. Pick the zone that annoys you most — finishing it gives you a visible win.
Step 3: Empty the Zone Completely
Take everything out of the zone you chose — every item, no exceptions. Yes, it looks worse for a few minutes, but it is the only way to see what you actually own. Wipe the empty shelf or drawer clean while it is bare.
Step 4: Sort Into Four Groups
With everything out in the open, sort each item into one of four groups: keep here, move elsewhere, donate or sell, and trash or recycle. Be honest with the keep pile. If you have not used something in a year, it belongs in donate or trash. A good test: if you had to pay to move it to a new home, would you? Bag the donate and trash groups right away so they do not creep back onto the shelf.
If sorting feels hard, our guide on how to start decluttering when you're overwhelmed walks you through it in ten-minute sessions.
Step 5: Group What Is Left by How You Use It
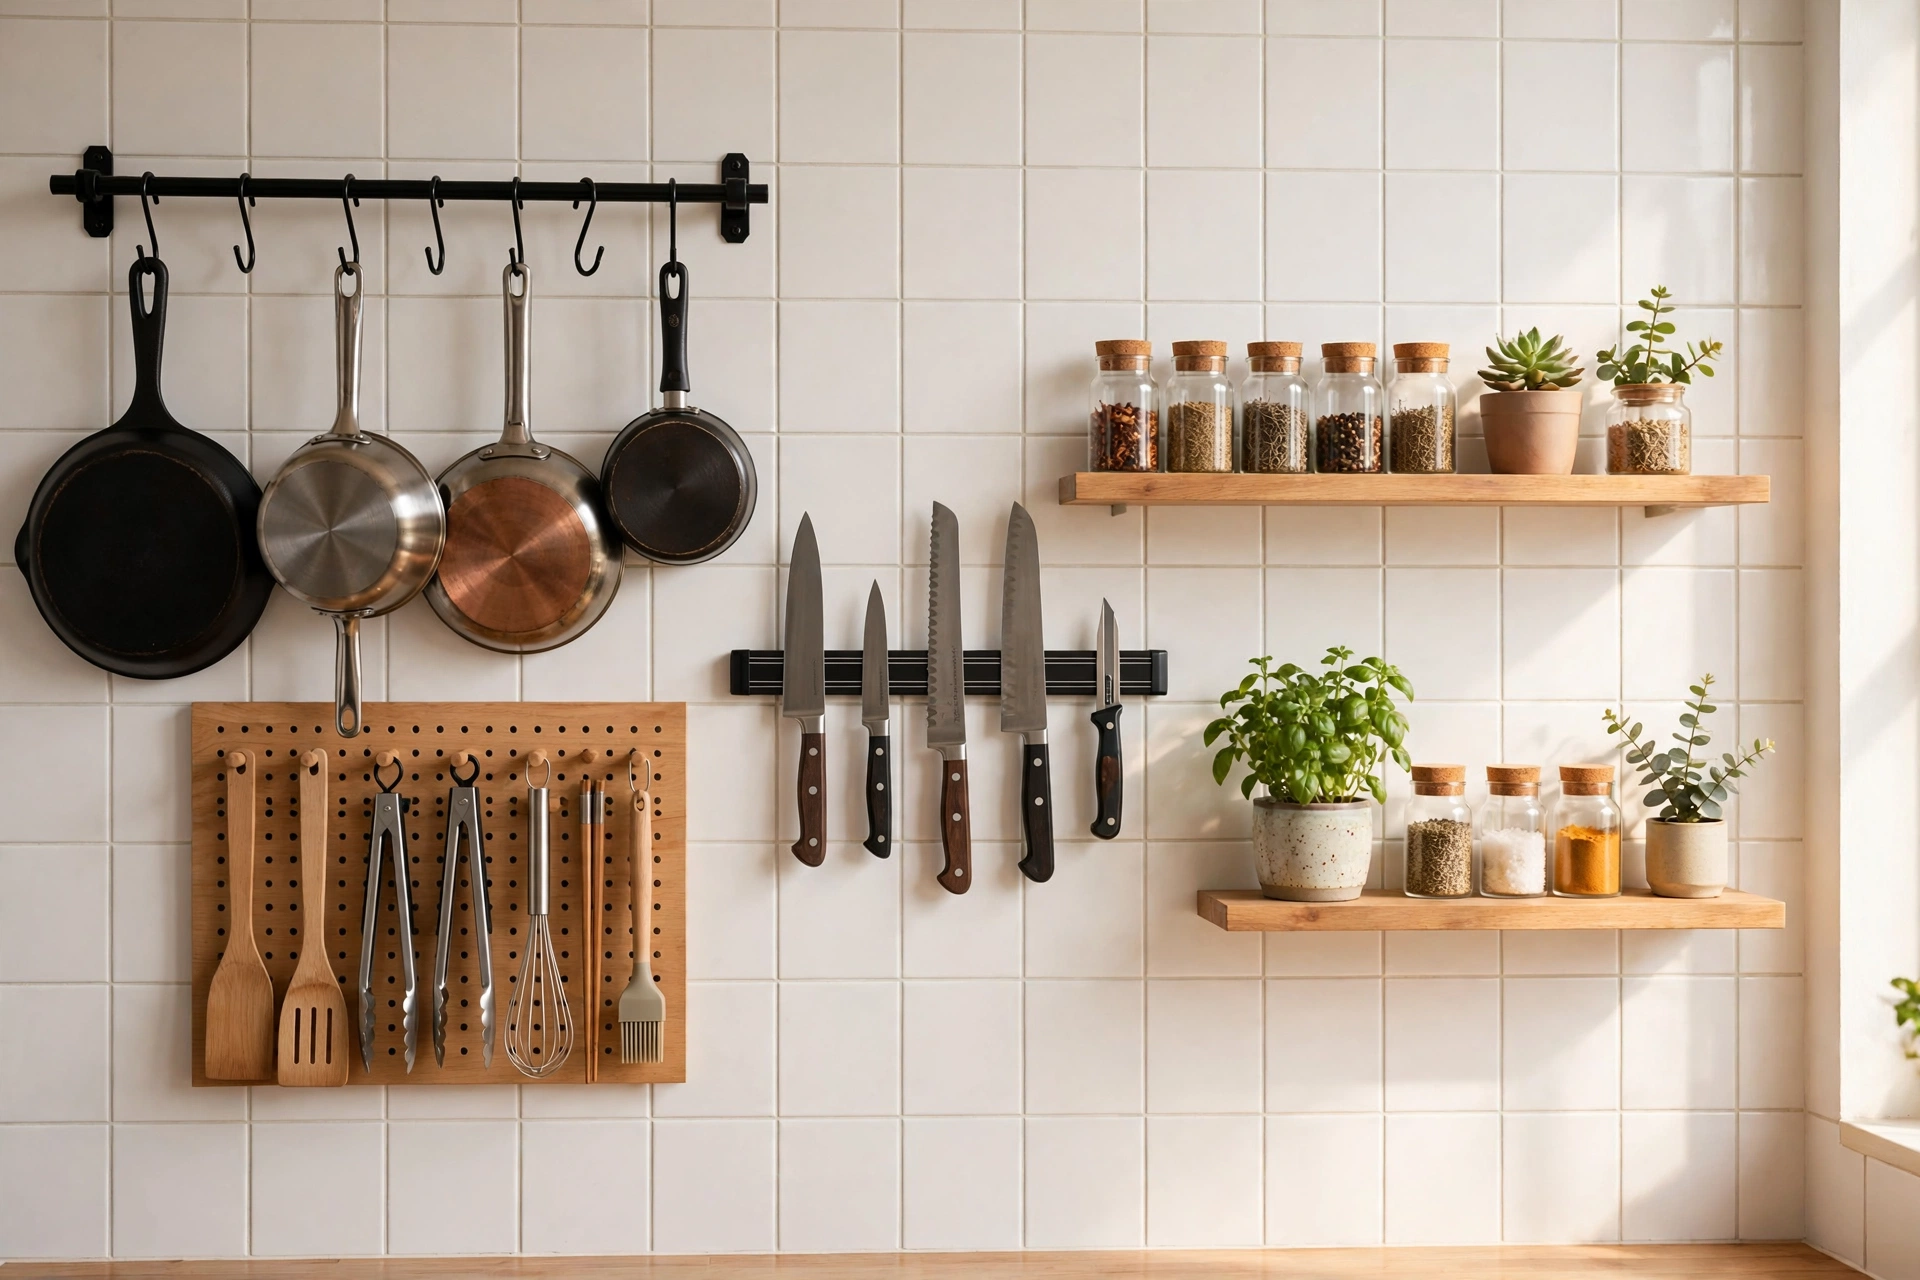
Now group the keepers by use, not by type alone. In the kitchen: cooking tools near the stove, coffee things near the coffeemaker, everyday dishes at arm level. In the living room: remotes and chargers near the sofa, blankets in one basket, books on one shelf. Grouping by use is what makes a system feel effortless later: you reach for things where you actually use them. Also notice duplicates — two can openers, three chargers — and keep only the best one.

Step 6: Give Every Group a Home
Every group needs a specific home — a shelf, a basket, a drawer section, a hook. "Somewhere in the kitchen" is not a home. "The middle drawer, left side" is a home. When everything has an exact spot, putting things away takes seconds, and anyone in the household can do it. Label the spot if it helps: masking tape and a marker work fine.
Step 7: Zone the Room Around Daily Life
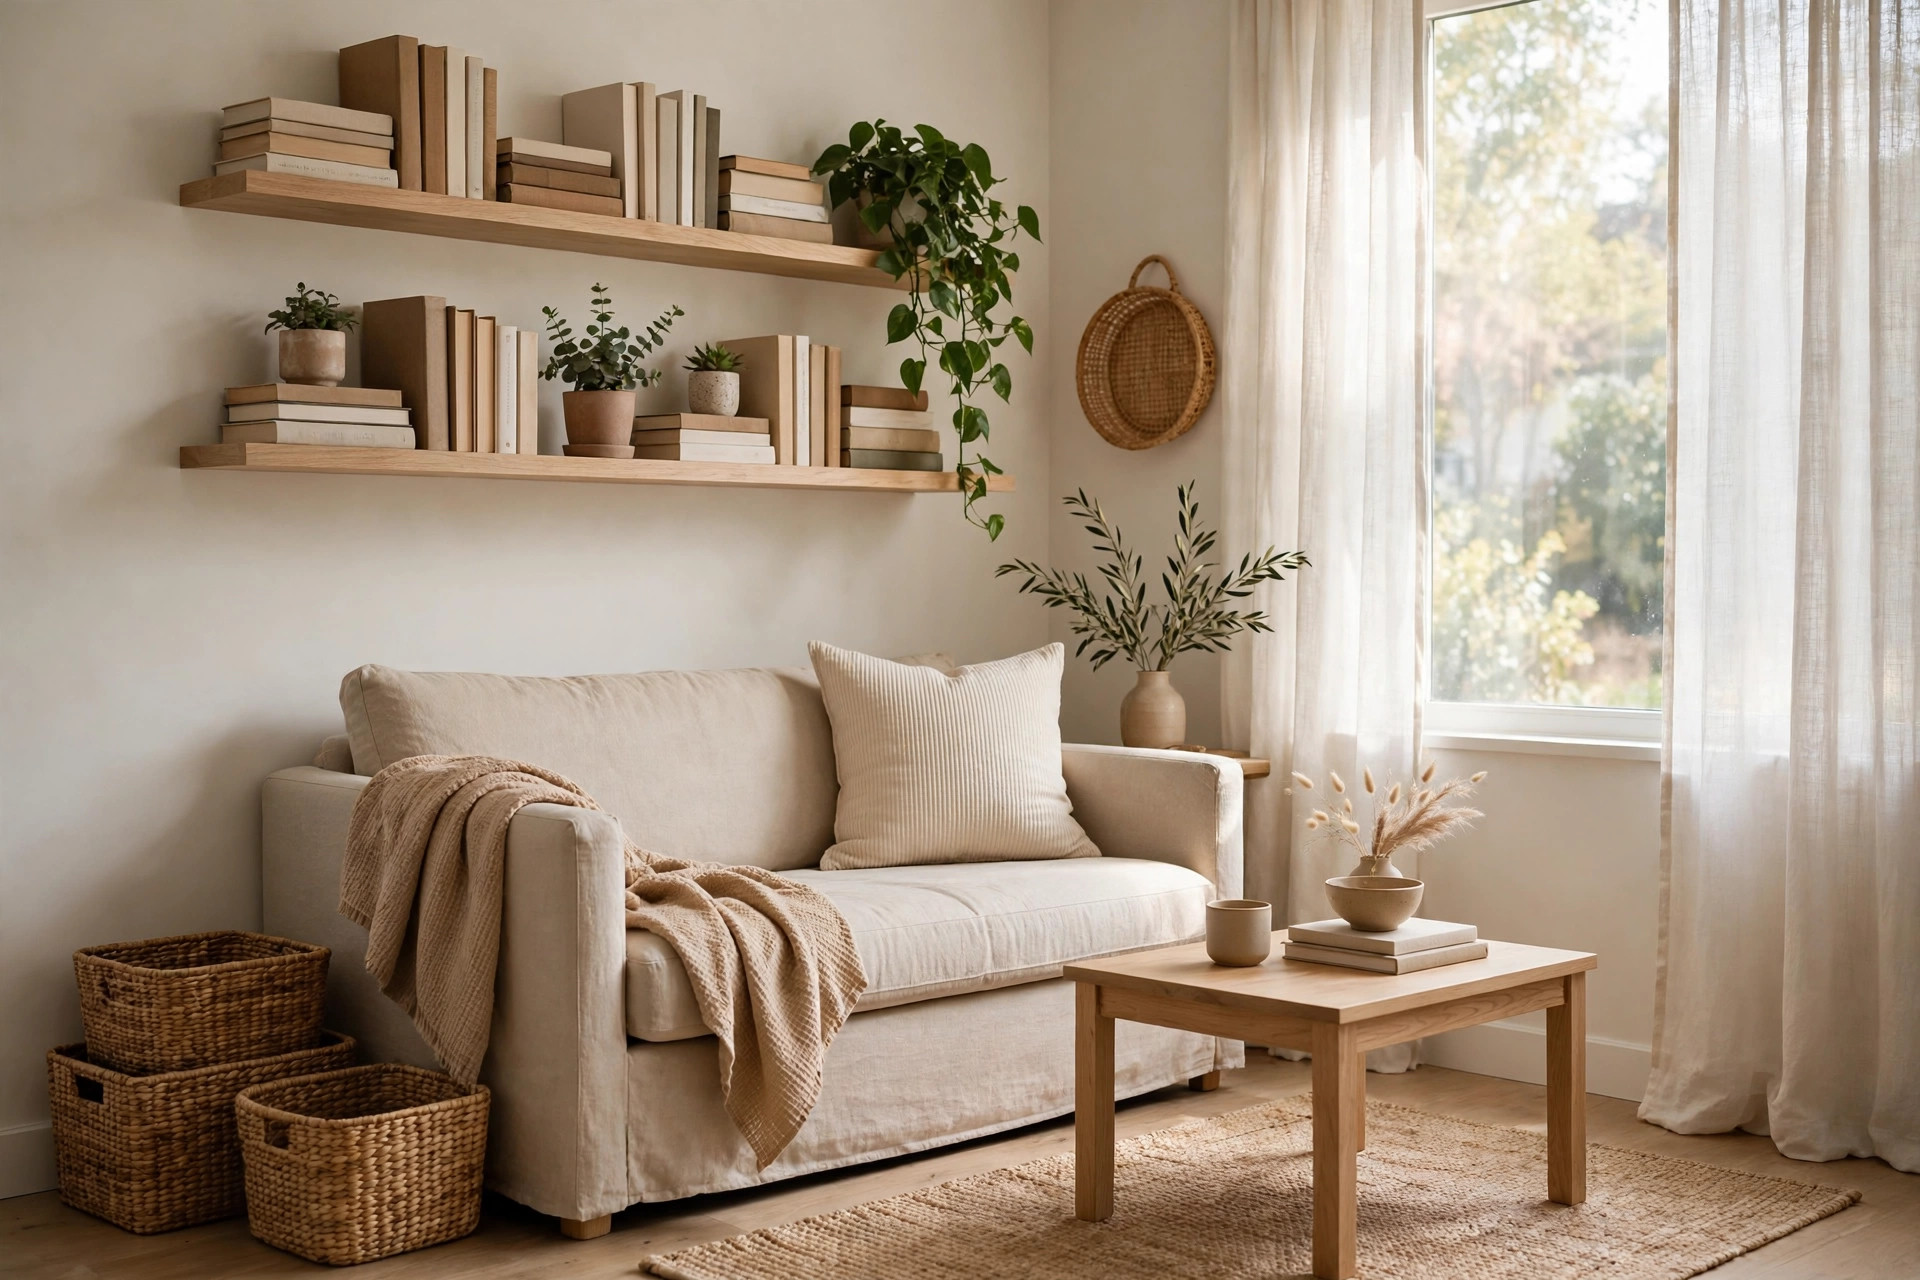
Once one zone works, step back and zone the whole room around how you actually live in it. A living room usually needs four zones: relaxing (sofa, blanket, remote), work or reading (chair, table, lamp), entry (hooks and a tray for keys), and storage (a cabinet or basket for things that do not belong on display). Zoning stops clutter from drifting, because every item already belongs to a zone. For more room-by-room ideas, see our small living room storage ideas.
Step 8: Contain With What You Already Own
Only now — after sorting, grouping, and zoning — should you think about containers. Most people buy bins first and then wonder why nothing fits. Use what you already have: shoeboxes as dividers, jars for small bits, baskets you own. If you buy something, measure first, buy one, test it, then buy more if it works. Renters: favor freestanding baskets, over-door hooks, and tension rods over anything that needs drilling.

Step 9: Set Up a 10-Minute Daily Reset
Organization is not a one-time project; it is a ten-minute daily habit. After dinner, set a timer and walk through the main living areas, returning everything to its home. That is all — ten minutes a day prevents another full weekend of organizing.
Step 10: Do a Weekly Check-In
Once a week, spend fifteen minutes checking the system. Is one zone always messy? Its home is probably wrong — move it closer to where items get used. Is a basket overflowing? Something in it needs to leave the house. A weekly check-in catches small problems before they become big ones. Our room-by-room decluttering checklist pairs well with this weekly habit.
"A place for everything, and everything in its place — but only if the place is where you actually use it."
3 Mistakes That Undo All Your Work
Buying containers before sorting. Bins do not fix clutter; they hide it. Sort first, measure second, buy last.
Organizing the whole house in one day. You will burn out halfway, leave piles everywhere, and quit. One zone at a time always wins.
Making the system too pretty to use. If putting something away takes more than a few seconds, you will stop doing it. Easy beats beautiful.
Your Printable Checklist
- Walk through and list friction points (15 min)
- Pick one zone — a drawer, a shelf, a closet section
- Empty the zone and wipe it clean
- Sort into keep here, move elsewhere, donate/sell, trash/recycle
- Group keepers by how you use them
- Give every group an exact home — and label it
- Zone the room around daily life
- Contain with what you own; measure before buying
- Run a 10-minute daily reset
- Check the system weekly
Frequently Asked Questions
What is the first step to organize your living space?
Start with a 15-minute walkthrough, note what bothers you most in each room, then organize one small zone — a drawer, a shelf, a closet section. One finished zone gives you momentum for the next.
How long does it take to organize a small living space?
A single zone takes 30 to 60 minutes. A small apartment usually takes one focused weekend, zone by zone, plus a 10-minute daily reset.
Should I declutter before organizing?
Yes, always. Organizing clutter just moves the mess into prettier containers. Remove what you do not use first, then organize what is left — start with the easiest category, trash and expired items.
How do I organize a living space on a budget as a renter?
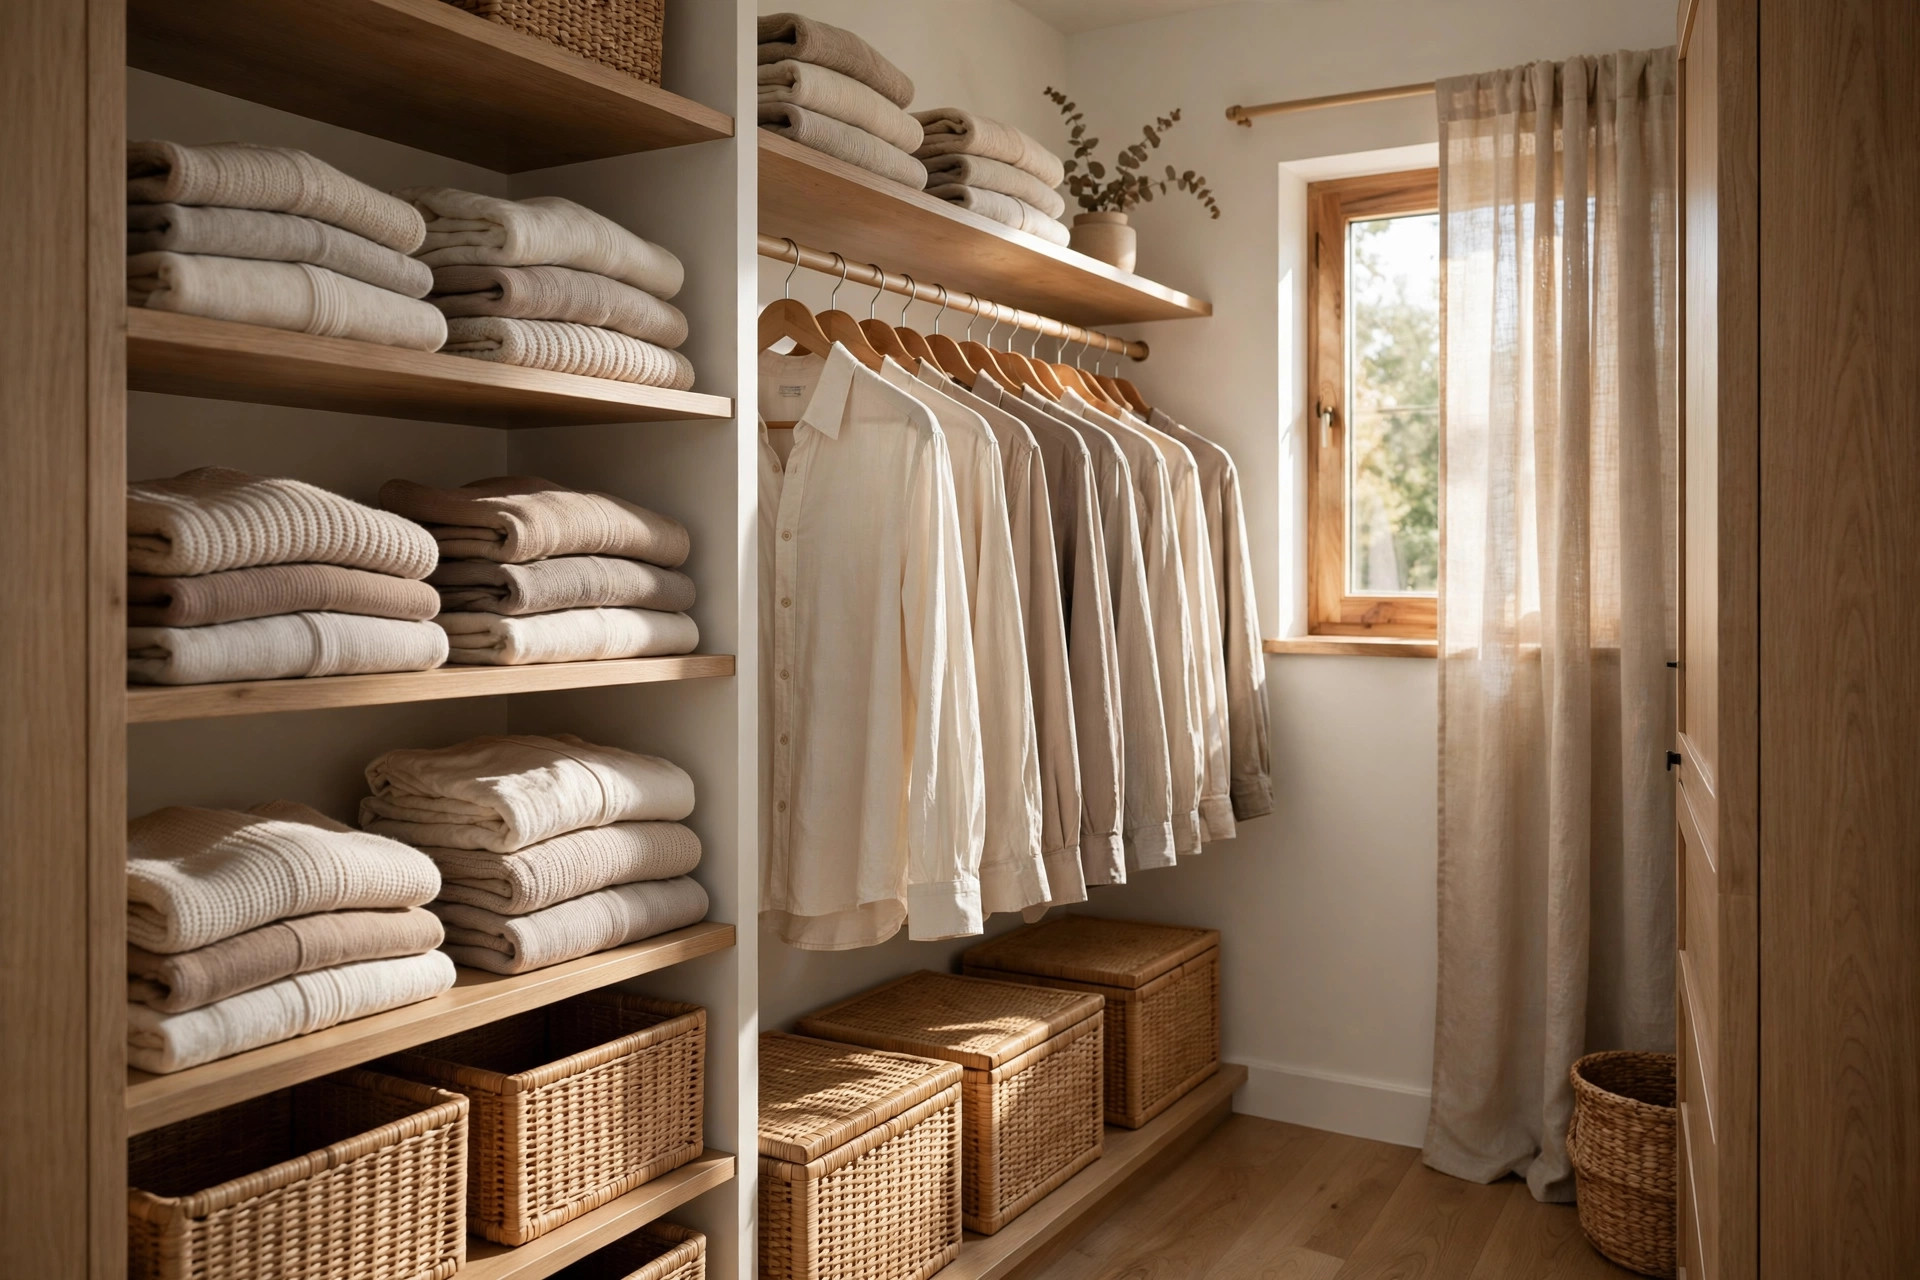
Use what you already own — shoeboxes as dividers, jars for small items, baskets you have. Favor freestanding storage, over-door hooks, and tension rods that need no drilling. Buy containers only after sorting, and measure the space first. Our closet organization ideas for small closets are full of renter-safe, low-cost tricks.
Organizing your living space is not about a perfect home. It is about a home that works for you — where you can find your keys and clear a surface in seconds. Start with one zone today, run the ten-minute reset tonight, and let the system build itself one small win at a time. For a deeper look at the decluttering side, Apartment Therapy's home project audit and the step-by-step guide on Apartments.com are solid next reads.